

After Successfully Installation of OS using ISO on the Attached Volume: “Shut Off Instance” and Confirm
Project → Compute → Instance

Check Instance "Power State"

Step 2:
Create Instance Snapshot :
Project → Compute → Instance → Menu → Create Snapshot
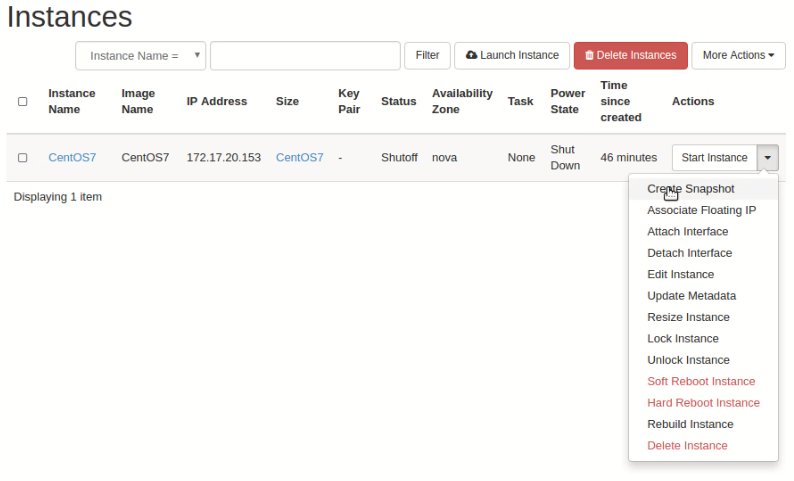
Snapshot Name > CentOS-Installed # type snapshot name

Press “Create Snapshot”

Step 3:
Project → Compute → Volumes →
Press “Edit Volume” button

check on “Bootable” and Submit

Step 4:
Detach “linuxtopic-volume” bootable volume from Instance ”CentOS7”

Expand Volume Menu Select “Manage Attachments”

Press “Detach Volume” and Confirm it
Step 5:
Project → Compute → Images → Launch

Instance Name* > CentOS-Installed # Type Instance Name

Press “Next” for Select Source
Select Boot Source > Volume # Select from Drug down
Available Volume > linuxtopic-volume # Select bootable volume

Press “Next” for flavor selection

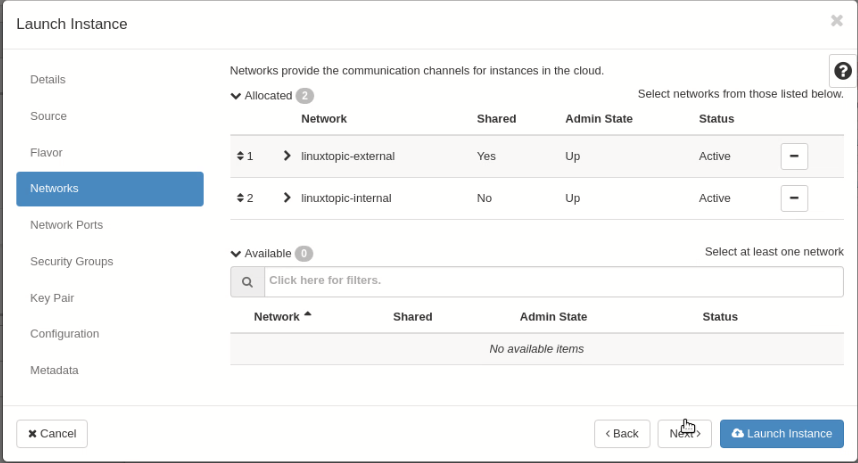
Press “Next” and Select Networks*
Press “Next” and Select “Security Groups”
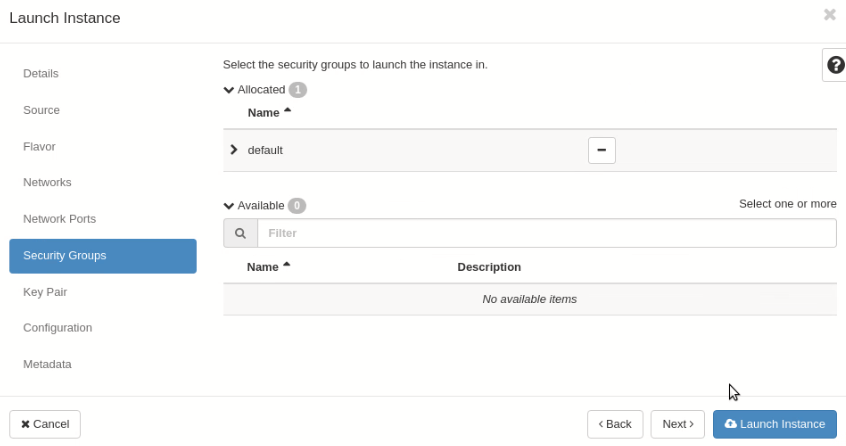
Now Press “Launch Instance”
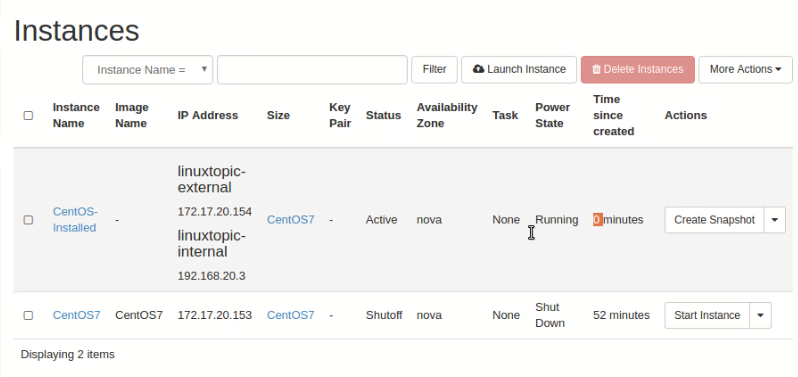
Step 6:
Project → Compute → Instances
Step 7:
Open Console form menu
Project → Compute → Instance
Expand Instance Menu and Select "Console"

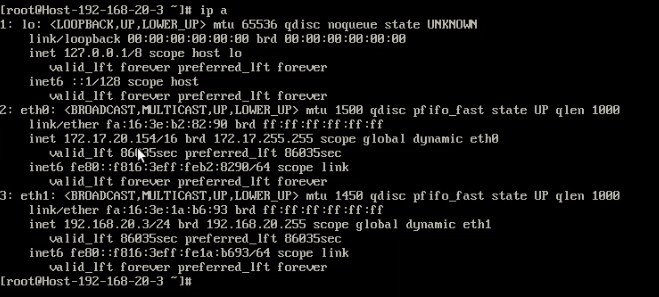
Network Configuration file
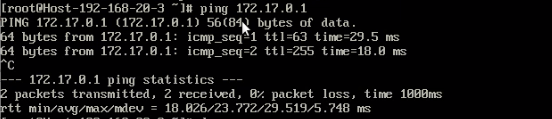
Ping Gateway
Part 1: OpenStack Mitaka 5 installation in CentOS 7
Part 2: Network Configuration in OpenStack
Part 3: Network & Router configuration using Dashboard
Part 4: Create Project, Image, Volume & Instance
Part 5: Instance Snapshot & Boot from Volume
Part 6: Autostart OpenStack Instance Setting
Part 7: Extend Volume Size
