

Q: How to Configure Network in OpenStack
Step 1:
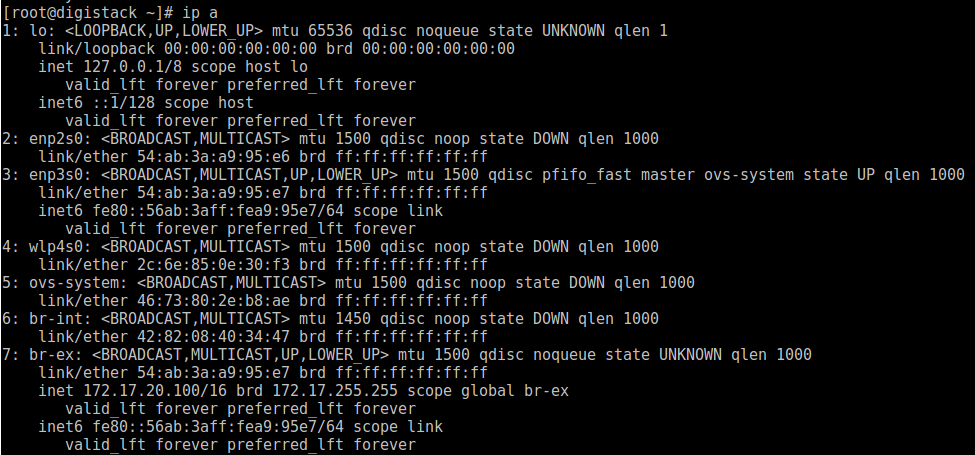
Cheek interface using “ip a” command
ip a

Copy Interface file and edit
cd /etc/sysconfig/network-scripts/
cp ifcfg-enp0s3 ifcfg-br-ex
vi /etc/sysconfig/network-scripts/ifcfg-br-ex
TYPE=OVSBridge
BOOTPROTO=static
DEFROUTE=yes
PEERDNS=yes
PEERROUTES=yes
NAME=br-ex
UUID=d2f77013-76f1-4829-8137-d98f44a19632
DEVICE=br-ex
DEVICETYPE=ovs
ONBOOT=yes
IPADDR=172.17.20.100
NETMASK=255.255.0.0
GATEWAY=172.17.0.1
DNS1=8.8.8.8

vi /etc/sysconfig/network-scripts/ifcfg-enp3s0
TYPE="OVSPort"
DEVICETYPE="ovs"
OVS_BRIDGE="br-ex"
BOOTPROTO=static
DEFROUTE=yes
PEERDNS=yes
PEERROUTES=yes
NAME=enp3s0
UUID=d2f77013-76f1-4829-8137-d98f44a19632
DEVICE=enp3s0
ONBOOT=yes

Restart Network Service
systemctl restart network
Check Status :
ip a
Step 2:
Configure Neutron Controller: open File and add Below line
vi /etc/neutron/plugin.ini
type_drivers = vxlan,flat

flat_networks = *

Restart neutron-server Service
systemctl restart neutron-server.service
Step 3:
Map the Bridge to the physical network : Find bridge_mappings and add “physnet1:br-ex“
vi /etc/neutron/plugins/ml2/openvswitch_agent.ini
bridge_mappings = physnet1:br-ex

Restart the neutron-openvswitch-agent service
systemctl restart neutron-openvswitch-agent
Step 4:
Enables the use of External provider networks and leave blank
vi /etc/neutron/l3_agent.ini
external_network_bridge =

Restart neutron-l3-agent
systemctl restart neutron-l3-agent.service
Step 5:
Load source file : find in /root/ or create new one with following content
unset OS_SERVICE_TOKEN
export OS_USERNAME=admin
export OS_PASSWORD=server
export OS_AUTH_URL=http://172.17.20.100:5000/v2.0
export PS1='[\u@\h \W(keystone_admin)]\$ '
export OS_TENANT_NAME=admin
export OS_REGION_NAME=RegionOne

Run source file
source keystonerc_admin
Step 6:
Create Flat External Network Interface and Associate it with the configured physical_network
neutron net-create linuxtopic-external --provider:network_type flat --provider:physical_network physnet1 --router:external=True --shared

End of Part-1 ####
Part 1: OpenStack Mitaka 5 installation in CentOS 7
Part 2: Network Configuration in OpenStack
Part 3: Network & Router configuration using Dashboard
Part 4: Create Project, Image, Volume & Instance
Part 5: Instance Snapshot & Boot from Volume
Part 6: Autostart OpenStack Instance Setting
Part 7: Extend Volume Size

After configuring this step not able to access the internet.
ReplyDeletePlease help.
Finding a decent support is similarly as significant as finding a fascinating item and a decent pay plan which offers adaptability and simply compensation for exertion. Expert Network
ReplyDeleteOften I have to face a lot of difficulties when it comes to confirm network on openstack but your written steps are very comprehensible and made my task easy my giving me step by step information. Assignment Writing Service
ReplyDelete